Input Node Guide
Overview
The Input Node is a fundamental component of NINA workflows, serving as the starting point for data input into your workflow. It allows you to provide initial values or files that will be processed by subsequent nodes in your workflow.
Use Cases
- Providing domain names for security scanning
- Uploading files for analysis
- Entering configuration parameters
- Supplying target URLs or IP addresses
- Setting baseline data for workflow execution
Creating an Input Node
Basic Setup
- Drag an Input Node from the node palette onto your workflow canvas
- Give your node a descriptive name (e.g., "domain-input", "target-list", "configuration")

Input Types
Input Nodes support two primary input methods:
1. Text Values
You can enter one or more text values directly into the node:
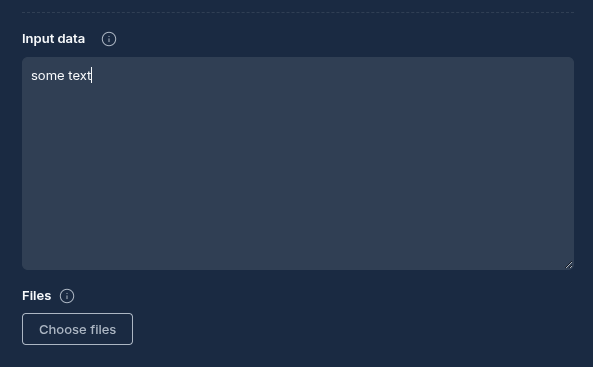
- In the node configuration panel, within the "Values" tab
- Enter each value on a separate line (if array) / Enter a JSON on each line
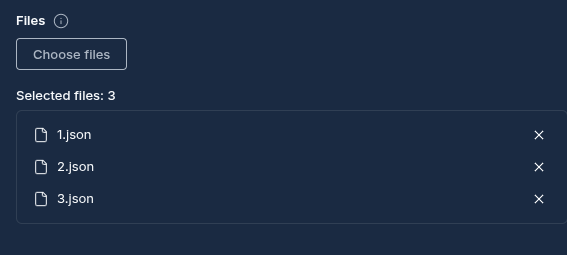
2. File Upload
If the input is too long, it is preferable to upload a file instead. Since entering a large amount of data in the "Values" field will force the node to fail
You can upload files to be used as input:
- In the node configuration panel, within the "Files" tab
- Click "Upload File" to select and upload your file(s)
Configuration Options
Node Properties
| Property | Description |
|---|---|
| Name | A descriptive name for the node |
Advanced Settings
Input Nodes in NINA automatically handle:
- Proper formatting of input data for downstream nodes
- Line-by-line processing of multi-line inputs
- Secure storage of uploaded files
How Input Nodes Work
When a workflow is executed:
- The Input Node processes the provided text values or uploaded files
- The data is prepared in the format expected by downstream nodes
- The Input Node completes immediately after processing the data
- Downstream nodes can then access and process this input data
Best Practices
- Use Descriptive Names: Give your Input Node a clear name that indicates what data it provides
- Consistent Formatting: Ensure text inputs follow a consistent format (one item per line)
- File Types: When uploading files, ensure they're in a format compatible with downstream nodes
Examples
Example 1: Domain List Input
example.com
test-domain.com
security-test.org
Example 2: Configuration Input
threads=10
timeout=30
verbose=true
Example 3: File Upload
Upload a CSV file containing targets, a wordlist for fuzzing, or configuration files.
Troubleshooting
| Issue | Resolution |
|---|---|
| Empty output | Ensure you've entered valid values or uploaded files correctly |
| Format errors | Check that your input format matches what downstream nodes expect |
| File access issues | Verify file uploads completed successfully |
Next Steps
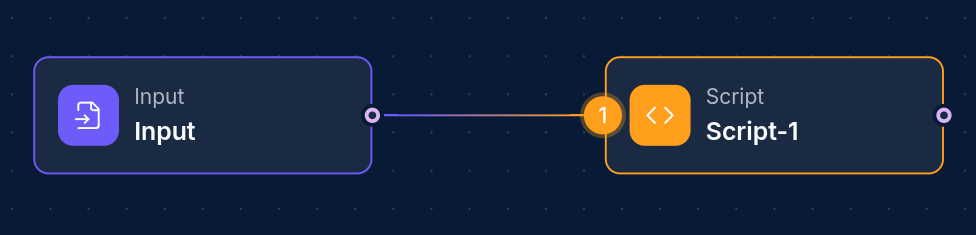
After configuring your Input Node, connect it to downstream nodes such as:
- Operation Nodes: To run security tools on your input data
- Script Nodes: To process or transform your input
- Integration Nodes: Directly into an integration node to serve as a "query" parameter for example (more on this in integration nodes)
Updated: 2025-12-02